Supplies Needed:
Template by Deb, and you can get it on Creative Misfits creations blog HERE
Scrap kit by Vix (mini glam freebie) you can get it on her blog HERE
Mask 8 by Kristin, you can get it on her blog HERE
Tube of choice.
I'm using the work of Ismael Rac, which you MUST have a license to use.
You can get one and purchase his work at AMI HERE
Filters Needed:
Eye Candy 4000 (gradient glow)
Tramages (panel stripes)
Penta.com (color dot)
Ok. let's get started!
Open template and X out copyright info layer.
Image, canvase size 700x700
Open tube of choice, it's best to use a half tube for this one.
Copy and paste your tube as new layer. Move down so that it is underneath the text on template.
Select Raster 3 on your template.
Selections, select all, float, defloat.
Open paper 8 from kit and copy and paste as new layer.
Selections, invert, delete.
Delete original Raster 3 layer.
Ok, now select Raster layer 4 and repeat above steps, only use paper 7 from kit.
Select Raster layer 2.
Selections, select all, float, defloat, Layers, new raster layer.
Now select flood fill tool, and using eye dropper tool, make your foreground color match the pink from paper 8.
And your background match the pink from paper 7.
Make a gradient fill with these 2 colors, Settings: Linear, Angle 60, Repeats 1
Now flood fill your new layer with gradient. Select none. And delete original Raster layer 2.
Still on this layer, go to Effects, Tramages, panel stripes, use following settings:
12,132,70, ok.
Still on the same layer, go to Effects, Eye Candy 4000, gradient glow, Settings: Fat, 3.00,25,100
Add drop shadow, Settings: 2,2,40,10.26 black.
Select the hearts layer
Selections, select all, float, defloat, Layers, new raster layer.
Flood fill with a lighted shade of pink, or color of choice.
Go to Adjust, Add/Remove noise,add noise Settings: Uniform, 55%, monochrome checked, ok.
Now add same gradient glow and drop shadow as before, and delete original hearts layer.
Select "Deal with it" word art layer.
Selections, select all, float, defloat, Layers, new raster layer.
Make a new gradient using 2 colors of choice to match your tube, same settings as before and flood fill new layer.
Go to Effects, Penta.com, color dot, Following Settings: Set distance to 9, everything else should be at 255, ok.
Now delete original word art layer.
Again on the Deal with it layer, Selections, select all, float, defloat, Modify, expand by 2.
Layers, new raster layer, and flood fill this with the same color you used for your hearts.
Selections, none, Now move this layer underneath the deal with it layer.
And still on the new layer, go to Adjust, Add/Remove noise, and apply with same settings you used before.
Apply drop shadow.
Select the "all about me" word art layer.
Selections, select all, float, defloat.
Open a new blank canvas, and flood fill with the same pink color you just used.
Copy and paste as new layer, Selections, invert, delete.
Delete original all about me layer.
Now go back to your tube layer.
Layers, duplicate,
On bottom tube layer, go to Adjust, blur, gausian blur, set to 4.00 ok.
On top tube layer, add drop shadow.
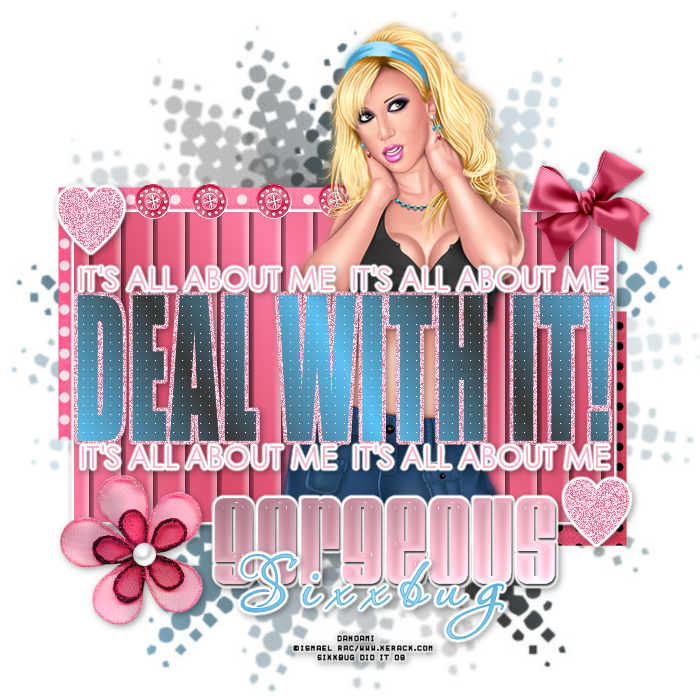
Open gorgeous word art from kit and copy and paste as new layer.
Place to bottom of tag (see mine)
Add same gradient glow and drop shadow as before.
Now you can add any other elements from the kit you want.
I took the glam button, resized by 50% and added a few to the top of the tag.
I also added a flower and bow, the choice is all yours!
Once your done adding any elements you want to use, go to Layers and merge visible.
Now go to Layer, new raster layer, send it to the bottom.
Flood fill this layer with color, gradient, or paper of choice.
I made a gradient out of a blue and black to match my tube for mine.
Open your mask
Layers, new mask layer from image, and find the mask from the drop down menu, ok.
Layers, merge group.
Now you can crop, resize tag to your liking.
Add your copyrights and your name.
I used Passions Conflict RO font, and as always added gradient glow and drop shadow!
Save as a PNG image and your all done!
I hope you enjoyed this tutorial.
This tutorial was written by ME on September 20,2009
And any respemblance to any other tutorial is purely coinsidental.