This tutorial was written using PSP X2 but any version should work.
Supplies Needed
Scrapity scrap and more template 6 which you can get from her blog HERE
Vix Mask 197 which you can get from Vixpsp HERE
Sundae girl scrap kit from Juicy bits which you can get HERE
Tube of choice.
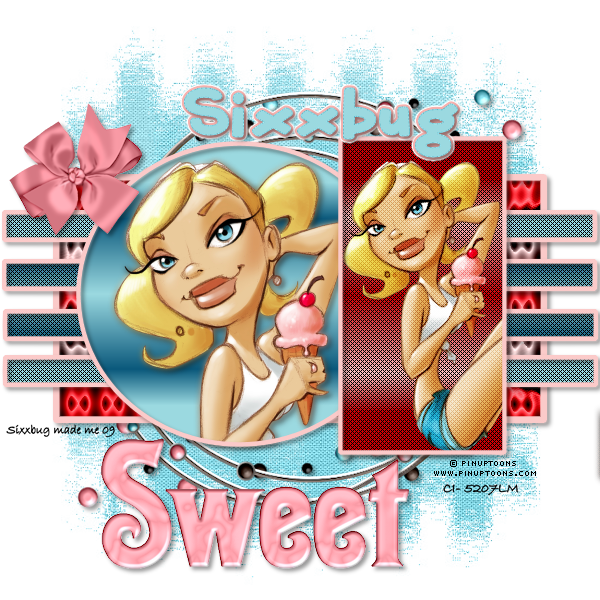
I used the awesome work of Pinuptoons which you MUST have a license to use.
You can get a license and purchase tubes at CILM HERE
Filters needed
Screenworks (Light gauze)
Tronds filter II (ghost)
Eye Candy 4000 (gradient glow) optional
Ok let's get started!
Open your template and tube of choice.
On your template, go to Image, canvase size, 600x600
Delete bottom white layer.
Close out copyright layer
Select your circle layer, with your magic wand tool click in your circle.
Copy and paste your tube, arrange it, Selections, invert, delete, select none.
On your tube layer, duplicate.
On the bottom layer, go to Blur, gaussian blur, settings 3.00 ok
On your top tube layer, merge down so that you now have 1 tube layer, add drop shadow of choice.
Select your square layer
Take your magic wand tool and click your square
Paste your tube again, only resize it a bit. Selections, invert, delete, select none.
Selections, invert, delete, select none
Layers, duplicate. On your top layer, Blue, gaussian blur, settings 3.00, ok, and change your blend mode to soft light.
Effects, Screenworks, Light Gauze, default settings
Select Square layer again
Select all, float, defloat, Layers, new raster layer
Take 2 colors from your tube and make a gradient with the following settings, LInear, angle 0, repeats 1 and flood fill your square
On Square layer, go to Effects, and repeat Light Gauze again,ok select none.
Delete original square layer.
Select raster 2, Selections, select all, float, defloat, Layers, new raster layer, and flood fill with the same gradient. Select none
Effects, Tronds filters II, Ghost, default settings, ok
Delete orignial raster 2 layer
Select your circle layer again,Selections, select all, float, defloat, Layers,new raster layer and make a new gradient fill from 2 other colors to go with your tube. Same settings as before, and flood fill. Selections none, Delete original circle layer.
Ok, now select raster layer 4. Selections, select all, float, defloat, layers, new raster layer, and flood fill with the same gradient you used on your circle.Select none
Effects, screenworks, and again apply light gauze. Delete original raster 4 layer.
Now go back and one at a time, select each frame layer, Selections, select all, float, delfloat, Layers, new raster layer, and flood fill with color of choice, and add drop shadow. Delete original layers
Copy and paste frame 1 from kit resize by 80%
Layers, new raster layer and send it to the bottom
Flood fill this layer with paper 3 from the kit
Open your mask
Layers, new mask from layer, and find your mask from the drop down menu, ok. Layers, merge group.
Open splatter from kit, copy and paste as new layer and resize by 80%. Add drop shadow of choice.
Open bow 2 and resize by 35%, copy and paste as new layer and arrange towards the top of your tag, add drop shadow.
Open pink sweet word art, resize by 60%
Copy and paste at the bottom of your tag. Add drop shadow
Layers, merge visible.
Add your copyrights and your name
I used LD fat jack font, and added gradient glow (which is opptional)
Save as a PNG and your all done!
I hope you enjoyed this tutorial and found it easy to follow!
This tutorial was writting by me on May 22,2009
And any similarity to any other tutorial is purely coincidental.